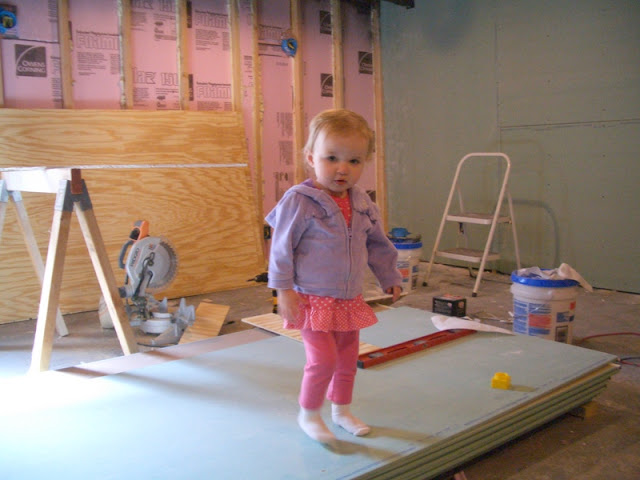
Since basements and bathrooms tend to have moisture we used mildew resistant drywall (Greenboard) on the interior walls and whole bathroom, and beadboard on the exterior walls. Luckily, unlike many of the homes in our neighborhood (thanks to some foundation work done by previous owners) our basement stays dry as long as we keep our gutters clean.
(Please excuse the blurry photo...)
Here’s the run down…
Beadboard:
1. Measure
2. Cut
3. Screw into frame
4. Caulk seams
Drywall:
1.Measure
2. Cut (using a utility knife... score and snap)
3. Screw into frame
4. Tape seams and corners
5. Mud seams, corners and screw holes (always wait for it to dry)
6. Sand (use a sanding block and fine grit sandpaper... at least 150 grit)
7. Mud
8. Sand
9. Mud
10. Sand
WARNING: Seal the room, wear a mask and prepare for drywall dust to be everywhere!
Other Basement Finishing Post:
XO,
Jaclyn


No comments:
Post a Comment